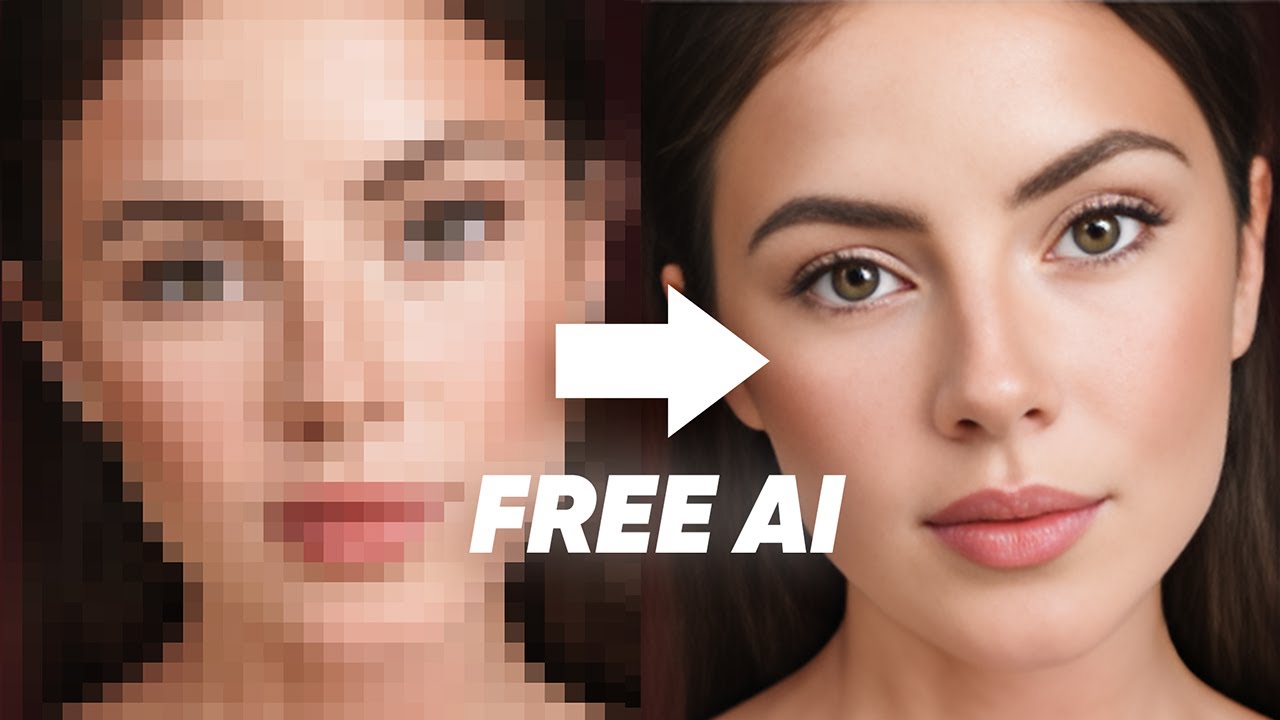
In today’s digital age, high-quality images are essential for everything from social media posts to professional presentations. However, low-resolution or blurry images can often fall short of expectations. Thankfully, advancements in artificial intelligence (AI) have made it easier than ever to transform low-quality images into stunning, high-resolution masterpieces—all for free and with minimal effort. This article explores how you can use free AI-powered tools to upscale and enhance your images, along with step-by-step guidance and tips for the best results.
Why Use AI to Enhance Image Quality?
AI-powered image upscaling tools leverage advanced algorithms, such as deep convolutional neural networks, to analyze low-resolution images and intelligently add details. Unlike traditional upscaling methods that stretch pixels and result in blurry or pixelated outputs, AI upscalers predict and reconstruct missing details, textures, and patterns. This results in sharper, clearer, and more vibrant images, making them ideal for personal projects, e-commerce, social media, or even restoring old family photos.
The best part? Many of these tools are free, user-friendly, and require no technical expertise or software installation. Whether you’re a photographer, content creator, or just someone looking to improve a blurry snapshot, AI upscaling is a game-changer.
Top Free AI Tools for Image Upscaling
Here are some of the best free AI-powered tools available online to convert low-quality images to high quality, each with unique features to suit different needs:
- Upscale.media
- Features: Supports upscaling up to 8x (4000×4000 pixels for non-logged-in users, 10000×10000 for logged-in users), works with formats like PNG, JPEG, JPG, WebP, and HEIC, and offers real-time previews.
- Best For: E-commerce, professional presentations, and bulk image processing.
- Why It’s Great: No software installation needed, and it’s fully accessible from any device via a web browser.
- PhotoGrid
- Features: Upscales images up to 4x (4K resolution), no sign-up or watermarks, and supports batch processing.
- Best For: Social media visuals, large-format prints, and restoring old photos.
- Why It’s Great: Completely free with no hidden fees, making it ideal for quick, high-quality enhancements.
- AIEase
- Features: Offers 2x and 4x upscaling with specialized models for portraits, anime, and general images. It also corrects colors and reduces noise.
- Best For: Portraits, anime artwork, and old photo restoration.
- Why It’s Great: Tailored AI models ensure optimal results for specific image types, with a focus on preserving authentic details.
- Fotor
- Features: Upscales images to 4K, removes blur, reduces noise, and enhances colors automatically. Supports JPG, PNG, HEIC, and WebP formats.
- Best For: Content creators, marketers, and photographers needing vibrant, high-definition images.
- Why It’s Great: Fast, automated processing with no manual adjustments required, perfect for beginners.
- Canva
- Features: Upscales images up to 4x with AI-driven enhancements, integrated with Canva’s design tools for further editing.
- Best For: Social media posts, graphic design, and marketing materials.
- Why It’s Great: Combines upscaling with a robust design platform, making it a one-stop shop for creating polished visuals.
Step-by-Step Guide to Upscaling Images with AI
Here’s a general guide to using a free AI upscaling tool like Upscale.media, PhotoGrid, or Fotor. The process is similar across most platforms:
- Visit the Website: Navigate to the chosen tool’s website (e.g., upscale.media, photogrid.app, or fotor.com) using any web browser on your desktop or mobile device.
- Upload Your Image: Click the “Upload” button or drag and drop your low-resolution image (JPG, PNG, or other supported formats) into the designated area. Most tools accept images up to a certain size (e.g., 4000×4000 pixels for non-logged-in users on Upscale.media).
- Select Upscaling Factor: Choose the desired upscaling level, typically 2x, 4x, or 8x, depending on the tool. Higher factors increase resolution but may require more processing time. For example, AIEase offers 2x and 4x options, while Upscale.media supports up to 8x.
- Enhance the Image: Click the “Enhance” or “Process” button. The AI will analyze the image, remove noise, sharpen edges, and add details. This usually takes a few seconds. Some tools, like Fotor, automatically adjust colors and lighting for vibrant results.
- Preview and Download: Review the enhanced image using the tool’s preview feature to compare it with the original. If satisfied, download the high-resolution version (usually in JPG or PNG format) for free, without watermarks.
Tips for Best Results
To achieve optimal results when converting low-quality images to high quality, keep these tips in mind:
- Start with the Best Original: AI can enhance images significantly, but it cannot create details that don’t exist. Use the highest-quality original image available to maximize clarity.
- Choose the Right Tool for Your Image Type: For portraits, try AIEase’s Portrait Enhancement model or Upscale.media’s face refinement feature. For anime or artwork, AIEase’s Art Image model or Fotor’s 4K upscaler works best.
- Avoid Over-Upscaling: Upscaling beyond 4x or 8x may introduce artifacts if the original image is extremely low quality. Stick to 2x or 4x for most images unless the tool specifies higher capabilities.
- Experiment with Settings: Some tools, like Canva, allow additional adjustments (e.g., brightness, contrast) post-upscaling. Use these to fine-tune your image for specific needs, such as social media or printing.
- Check Format Compatibility: Ensure your image format (e.g., JPG, PNG) is supported. Most tools handle common formats, but double-check to avoid issues.
Benefits of AI Image Upscaling
Using AI to upscale images offers several advantages:
- Time-Saving: The process is automated and takes seconds, eliminating the need for manual editing in complex software like Photoshop.
- Cost-Effective: Free tools like PhotoGrid and AIEase provide professional-grade results without subscriptions or hidden fees.
- Versatility: Enhance images for various purposes, including social media, e-commerce product photos, large-format prints, or personal memories.
- Accessibility: No technical skills or software installation are required, making these tools accessible to beginners and professionals alike.
Limitations to Understand
While AI upscaling is powerful, it has limitations:
- Cannot Create Non-Existent Details: If the original image is too blurry or lacks detail, the AI may struggle to produce perfect results.
- Image Type Matters: AI tools perform best on photos, portraits, or artwork but may struggle with text-heavy images or extremely low-quality scans.
- Resolution Caps: Free versions of tools often have resolution limits (e.g., 64 megapixels for LetsEnhance free users). Paid plans may offer higher limits, like 500 MP for business users.
Conclusion
Converting low-quality images to high quality has never been easier, thanks to free AI-powered tools like Upscale.media, PhotoGrid, AIEase, Fotor, and Canva. These platforms use cutting-edge AI algorithms to upscale, sharpen, and enhance images in seconds, making them perfect for personal, professional, or creative projects. By following the simple steps outlined above and choosing the right tool for your needs, you can transform blurry or pixelated photos into crisp, high-definition visuals without spending a dime.


